MENU
MENU


If you want to have conversations in your car cabin or lower the sound of your radio while focusing on your driving, you need to improve the soundproofing in your car. Doors play important role in overall acoustic comfort of your vehicle. This is where lots of ambient noise is transmitted through. With the right automotive door insulation, you can have superior car door sound deadening that lets you achieve your goals. You can sound deaden your car doors, trunk and floor with ease.
Does outside noise or the passing by of cars interrupt your driving experience? Are you looking to improve the quality of your stereo by adding more bass and increasing the overall sound level of your audio system?
With the right automotive door insulation, you can have superior car door sound deadening that lets you achieve your goals. You can sound deaden your car doors, trunk and floor with ease.
Before you begin your car door sound deadening process, you need to gather your materials. This includes:
- sound deadening and heat and noise insulation materials
- electric or regular screwdriver
- trim clip removal tool
- clean cloth and rubbing alcohol
- utility knife
- roller
- knit working gloves – avoid rubber because they don’t move across the material smoothly
Then, we arm ourselves with the user manual (find it on the Internet) and learn how to dismount door trimming and where clips are located.
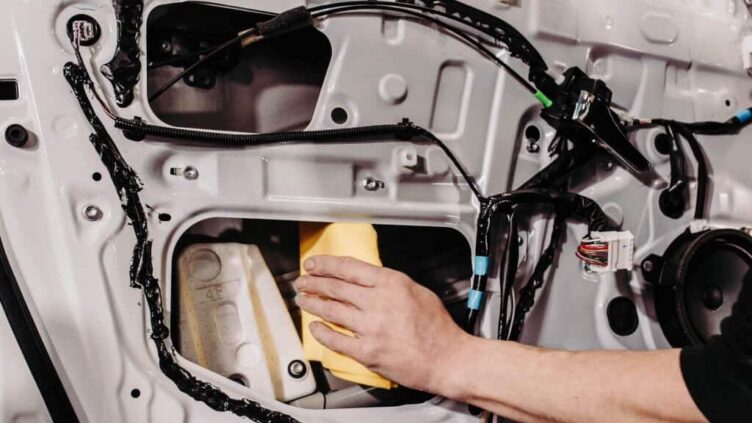
Take the door trim apart cautiously and remove it; be careful with clips — you’d better use a special removal tool. Then remove the protective layer from doors and degrease the interior part of the door aperture. Large dimensions of technological apertures of most of the cars are what prevents us from the necessity of removing speakers, as we already have access to the entire interior part of the door.
Therefore, it’s quite easy to cover the whole door and roll down the sound deadening material (the one we use is Noico 2mm).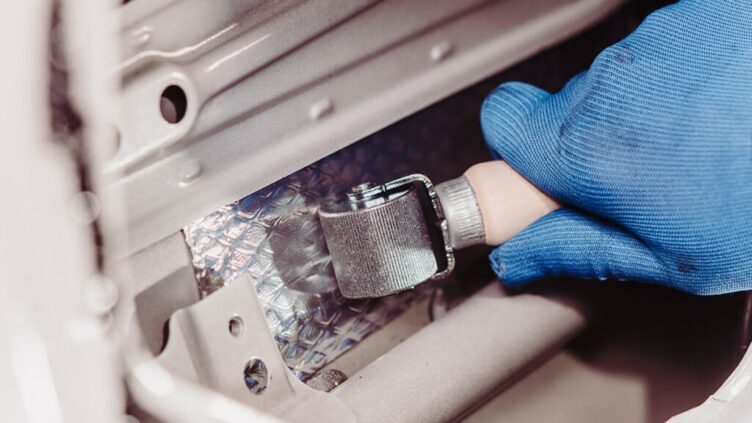
Then we take the ruler to measure the interior part of the door, cut the template in the material based on these dimensions. After we removed the protective layer from the material, we stick it to the interior part of the door. Then, level it in place and roll it down elaborately, to remove all bubbles from under the piece of material. It is special embossing on the foil that lets us see where the material is rolled down well and where it is not. We heavily recommend you to make sure the whole sheet is rolled down properly.
To build in the second layer, we have to degrease the first one again and stick Noico Red 4mm (150 mil) on it. This heat and sound insulation layer should be applied without any openings or gaps between sheets, in order to preclude the possibility of sound intrusion and ensure the highest heat insulation possible.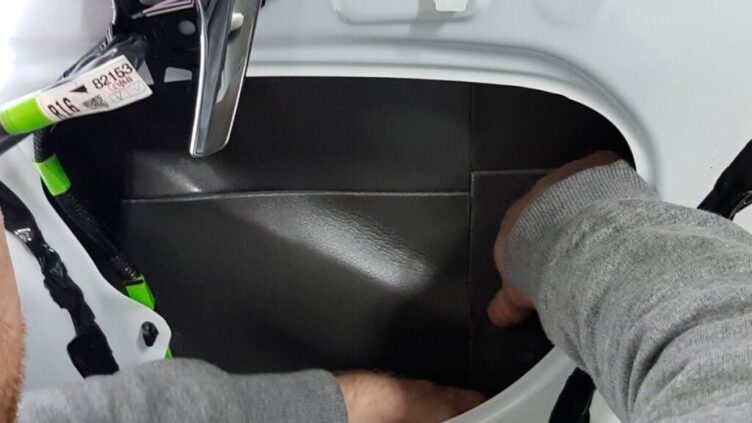
Now, we cover the exterior metal surface of the door with the sound deadening material. Stick down all the apertures, including those narrow designed for wires and door lock arms. This layer should be carefully rolled down as well.
Repeat these operations on other doors.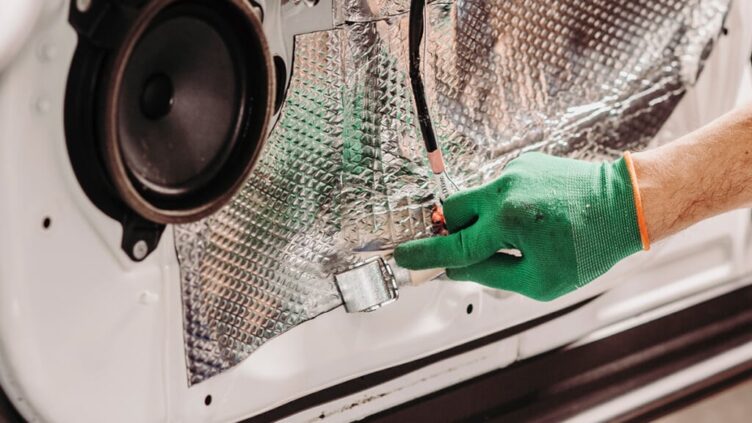
Is Applying Sound Deadening to a Door Worth It?
Absolutely! While it’s one of the most common questions we hear, the answer is always the same. Noise-proofing your vehicle doors reduce the sound you hear in the cabin and lowers the overall tone when you open or close your doors as well. You can insulate your cabin and reduce road noise in general. Plus, it doesn’t take any special skills to perform the job yourself. In addition, sound-proofing any aspect of your vehicle only increases the resale value down the road. This simple investment pays off in the end.